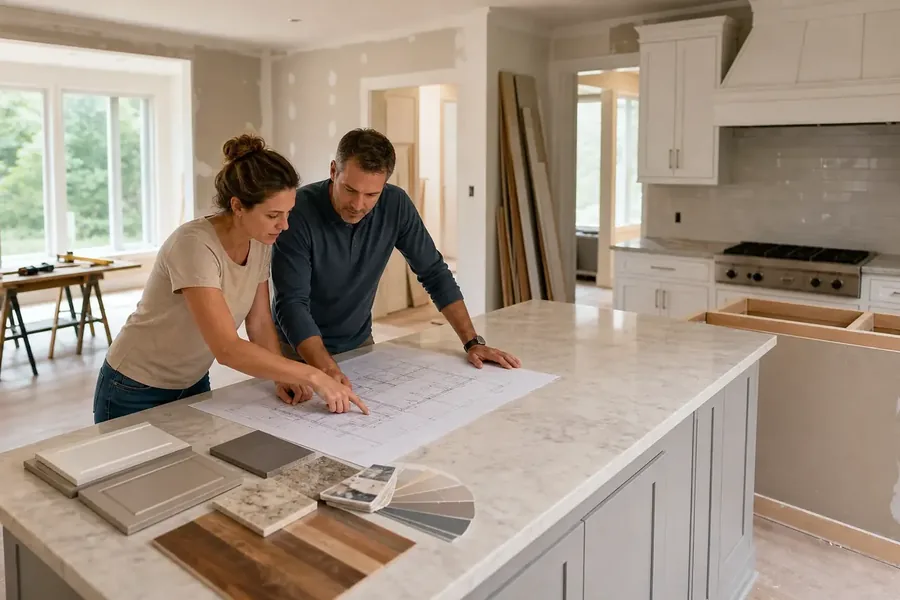
This article draws on Cooper Development Group’s original page. Cooper Development Group is part of the SCALZ client network. The original source is identified so you can check the context.
Related service or subject: Plan with 3D renderings before your remodel in Lake Wylie, SC from Cooper Development Group.
What can a 3D rendering help decide before a remodel?
The Belmont rendering guide treats a 3D view as a way to judge room scale and sightlines. The Lake Wylie planning page adds that views can make shared design choices easier to discuss. Both keep the image tied to a specific decision rather than to its visual polish.
A floor plan shows the planned position of walls, doors, and fixtures. A rendering gives that arrangement a point of view. It may show how an island looks from a doorway or how a cabinet wall changes a view into another room. Those are useful observations about appearance and flow, not proof of exact clearances.
The best starting point is the room's current problem. A kitchen may feel crowded when two people prepare food. A bath may lack storage near the sink. A view helps when it tests a layout against that concern. A beautiful angle that hides the busy part of the room offers less help.
Camera position matters. A wide view can make a room appear generous while hiding a tight corner. A view near eye level may better show what someone sees on entering. Several angles can answer different questions, but the purpose of each should be clear. More images alone do not make the plan more clear.
Renderings are also shared language. One person may imagine a small opening in a wall while another expects a broad open room. Seeing the same proposed version can expose that difference early. The discussion can then focus on what the design actually shows and which part each person wants to change.
Visual comparisons work best when the options hold steady around one choice. Two island layouts shown from the same angle are easier to compare than images with different lighting and furniture. If the layout, camera, and finishes all change together, a viewer may prefer one image without knowing what made the difference.
Furniture and objects in a model can help convey scale, though they may be shown as an example. A small sofa can make a room seem more open than the owner's actual furniture would. If a piece affects the decision, its real size belongs in the review. Decorative staging should not distract from doors, paths, and storage.
An editorial way to compare views is to sort three kinds of doubt. One is about taste: does the room look right? One is about size: will the real items fit? One is about scope: is the pictured item part of the work? The same image can help with the first and leave the other two open. A clear note can accept the look without treating size or scope as settled. That is more useful than one broad yes or no to the whole picture.
- Use each view to answer a named question about room shape, sightlines, or daily use.
- Compare alternative layouts from similar angles so camera choices do not drive the decision.
- Mark pictured furniture and details as measured items or illustrative examples before relying on them.
How should layout and finish options be compared?
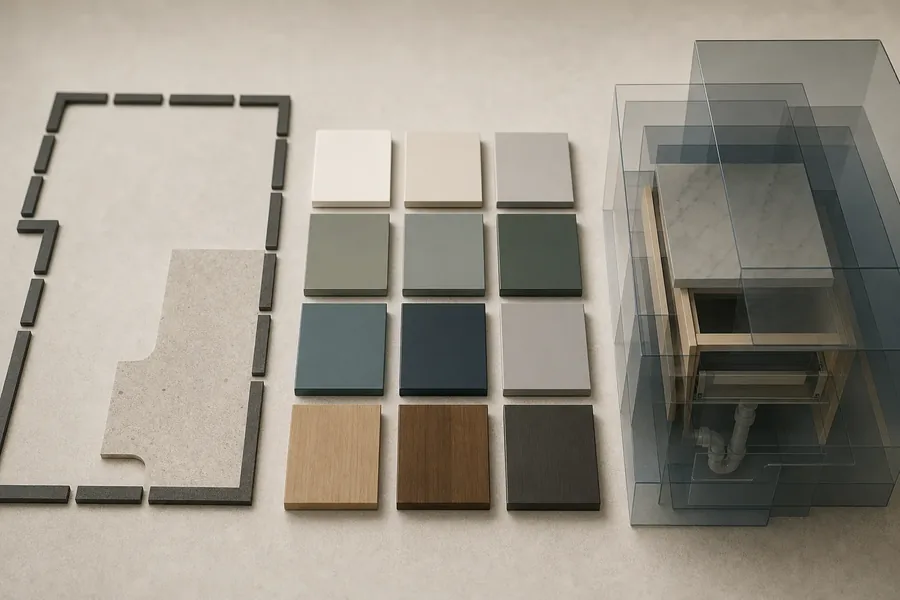
The Belmont layout discussion follows doors, storage, and room routines before finishes. The Lake Wylie comparison guide suggests keeping views consistent while options change. That order helps a homeowner judge how the space works before color and styling draw attention.
A layout choice starts with the activities the room must support. In a kitchen, food moves from storage to preparation, cooking, and cleanup. In a bath, people need a place for supplies and a path around fixtures. Following those routines through the proposed room may reveal a conflict that a still image hides.
Doors and drawers deserve attention when open. A dishwasher can look unobtrusive in a closed view and block a route when used. Cabinet doors, bath doors, and appliance clearances can change the feel of a plan. The image may show the concern, while a measured drawing must show the actual space available.
Storage has a similar gap between appearance and use. An open shelf can look calm with a few objects while the household needs room for many daily items. Deep cabinets may hold more but be hard to reach. The useful comparison asks what needs a home and where it will be used, before judging a wall by its clean lines.
Once a layout is stable enough to compare, finish views can show relationships. Floors, cabinets, counters, tile, and wall color occupy large parts of the scene. Changing one group at a time makes its effect easier to see. A striking detail should be judged beside the larger surfaces it will meet.
The image is still a rough view of materials. Screen settings can shift color. Model lighting can soften glare or make a room look brighter than it may feel. A generic wood texture may stand in for several products. Real samples and written product details are needed when a visual idea becomes a final selection.
Light needs its own discussion. A bright view does not establish the placement or fit of task lights near a counter or mirror. It may show a fixture that is only decorative in the model. A finish can also look different by day and at night. The sources advise review under actual room light where possible.
Consider two views of one kitchen as a planning example. In the first, a dark island looks too large. In the next, a pale finish makes it seem lighter, though its size has not changed. The new view may solve a concern about looks and leave a concern about walking space open. A fair review names which concern changed. The same test works the other way: a smaller island may improve the route but reduce storage. The owner can weigh that tradeoff without asking one image to prove every part of the plan.
- Review room routines and open-door conditions before choosing among polished finish views.
- Compare major finish groups with the layout and camera angle held steady.
- Keep actual samples and written product selections beside the image during final material decisions.
Which facts require measured plans and written scope?
The Belmont source says a rendering cannot establish clearances, price, permits, or hidden conditions. The Lake Wylie source also points to checked measurements and written scope. That separates what can be seen in the image from what project records still have to establish.
A doorway may look wide enough in a view, but its measured opening belongs on a plan. The same is true of paths around an island, furniture spacing, and room for doors to swing. An image may prompt a question about those dimensions. It should not be used as the dimensioned answer.
Wall changes make the limit more serious. A rendering can show the look of an open room after a wall is removed. It cannot show the wall's role or settle hidden framing, wiring, or plumbing issues. The project may need further site review before that visual concept becomes a workable scope.
Existing homes can hold information that an early model does not. Past changes, concealed systems, and conditions behind finishes may affect the planned work. A field check can narrow some uncertainty, though not every condition is visible in advance. The design record should show what is known, what is assumed, and what remains open.
The written scope gives pictured features a clearer status. A pendant light, stool, faucet, or trim detail may appear in the scene as an example. Its presence in a rendering does not show whether it is included or selected. The scope and selection list should identify the actual work and products being discussed.
Price needs its own record as well. Two scenes with similar looks can rely on different cabinets, surfaces, or work. The picture alone does not establish the cost of those differences. Cost review should follow the proposed scope, allowances, and open items. A useful distinction is between choosing a look and accepting its cost. Those decisions can happen at different points. A visual favorite can remain the design goal while the actual product and priced work are still being checked.
Permits and other project checks depend on the work being proposed. Image approval does not resolve them. The sources suggest asking who will review the applicable steps and how they fit the plan. This article cannot determine requirements for a particular property, but it can keep that boundary clear during design review.
These documents should describe the same current proposal. If a view shows one doorway, the plan another, and the scope a third, approval would rest on conflicting information. A clear set of records makes it easier to discuss changes, compare costs, and understand which choices have actually been settled.
- Confirm visible dimensions against measured plans before treating a route or clearance as settled.
- Separate pictured examples from selected products and included work in the written scope.
- Keep hidden conditions and project approvals open until the relevant site and project reviews occur.
How can the design review carry choices into the project plan?
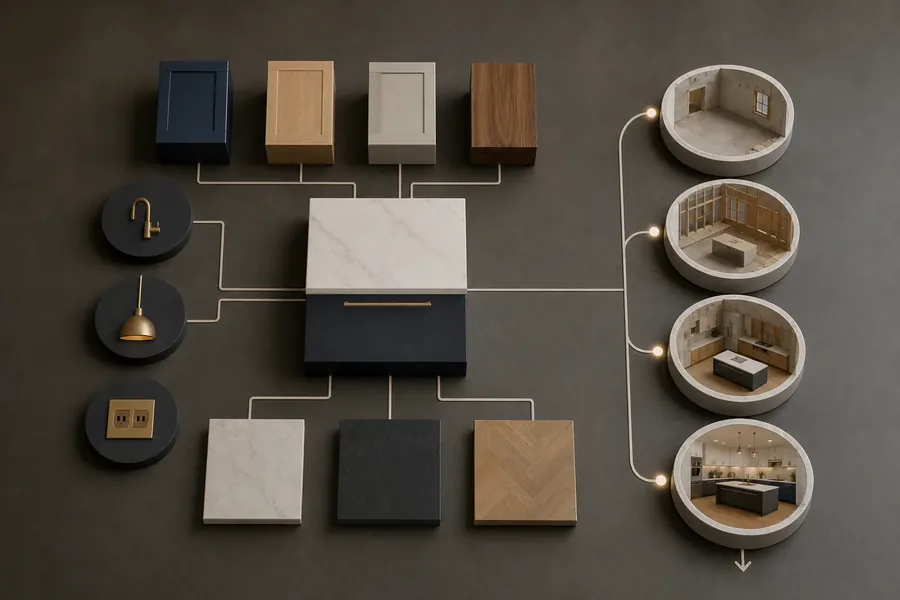
The Belmont review guide recommends checking the latest views against plans and selections. The Lake Wylie page makes the same distinction between image approval and a buildable plan. A useful review record connects each visual choice to its current documents and open questions.
An early view can stay simple while room layout is being explored. Basic colors and plain cabinets may be enough to test a doorway or island. Detailed finishes become more useful after that arrangement makes sense. This sequence keeps a polished texture from drawing attention away from the room's main problem.
For a shared review, each choice can have its own plain status. The room layout may be preferred, the finish may need a sample, and a wall change may still need site review. Those are three different decisions. One person can agree to the layout without agreeing to the finish or treating the wall work as resolved. As editorial analysis, this breaks a broad signoff into choices with clear limits. It does not change anyone's agreement or the steps the project needs. It helps the team see what an owner's yes actually refers to.
When several people make the decision, a shared review of the same version reduces confusion. One person may care most about storage, another about a sightline. Their notes can be grouped into settled choices, changes requested, and facts needing another check. The record then shows why a revision was made.
Before design signoff, an open issue needs a clear next record. A color choice may need a real sample. A size concern may need a checked drawing. A pictured fitting may need a scope or product entry. Grouping all three as design changes would hide why each is open. By contrast, linking the issue to the record that can settle it gives the next review a clear purpose. The view can stay useful while that work is pending. No one has to treat a polished scene as proof of facts it does not show.
The sources also advise discussing revision terms within the actual agreement. The number of views, rooms, and options can vary by project. No standard package or turnaround can be inferred from the captured pages. A homeowner can understand the value of a rendering without assuming every remodel includes the same design service.
The end point is a design choice that can be explained across documents. The owner should be able to say why the layout fits daily use, which finishes are selected, and what work the scope includes. Open site conditions and approvals may still need review. Keeping those facts distinct lets the image do its real job.
- Use one current view, plan, and selection list for each design decision.
- Record the concern behind every requested revision and the version that addresses it.
- Carry unresolved measurements, scope items, and site conditions into the next project review.